
Adding Dynatrace to Verify Access - Why You Need This
Contents
Overview
Dynatrace is a software intelligence platform that allows us to analyse and quickly find the data we need in a complex enterprise solution.
In our case, it allows us to delve deep into the mechanics of IBM Security Verify Access, find the root-cause of anomalies, better understand performance impacts, eliminate tedious manual work capturing data, and most importantly, it lets us focus on what matters most, security.
Prerequisites
Pre-configured installation of Dynatrace. If you don't have Dynatrace, click here the install the free trail.
Pre-configured installation of IBM Security Access Manager (ISAM) v9.0.7 or above.
Downloaded the Dynatrace root certificate: https://ca.dynatrace.com/dt-root.cert.pem
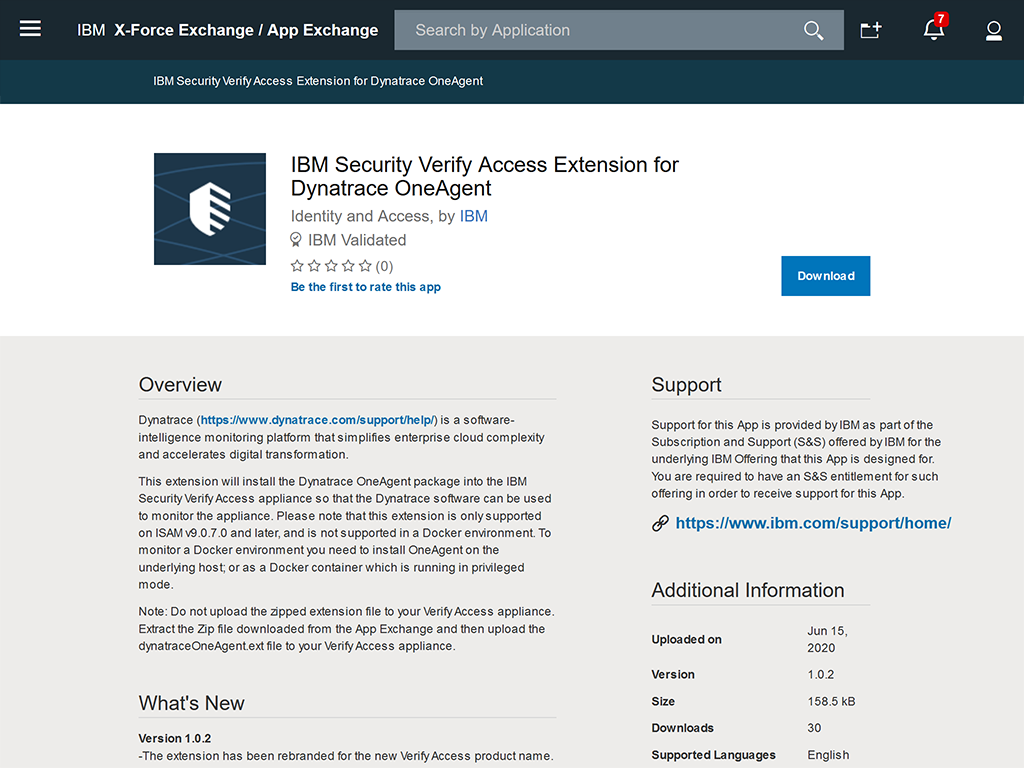
Downloaded and extracted the Dynatrace OneAgent extension from IBM X-Force App Exchange
Installing Dynatrace OneAgent
Below are the steps for installing the Dynatrace OneAgent using IBM Security Verify Access.
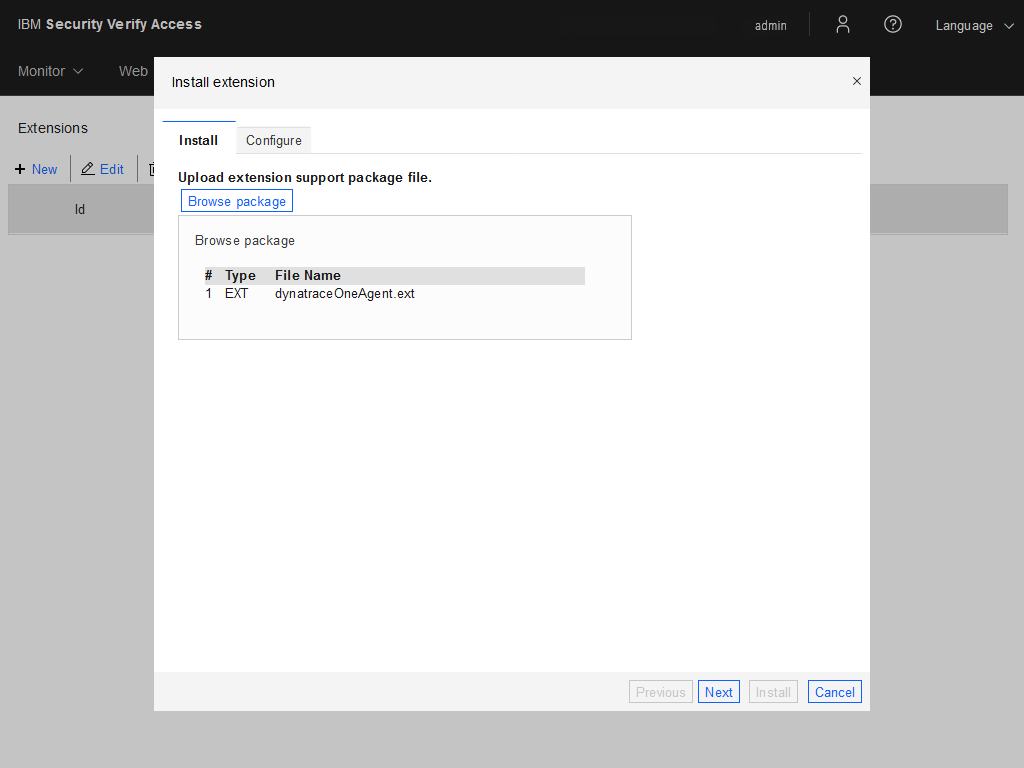
- In the LMI, open the Extensions panel under
Updates and Licencing.
- On the Extensions panel, select New.

- Click Browse package.

- Find the
dynatraceOneAgent.extyou downloaded on your machine and click Open. - Click Next.
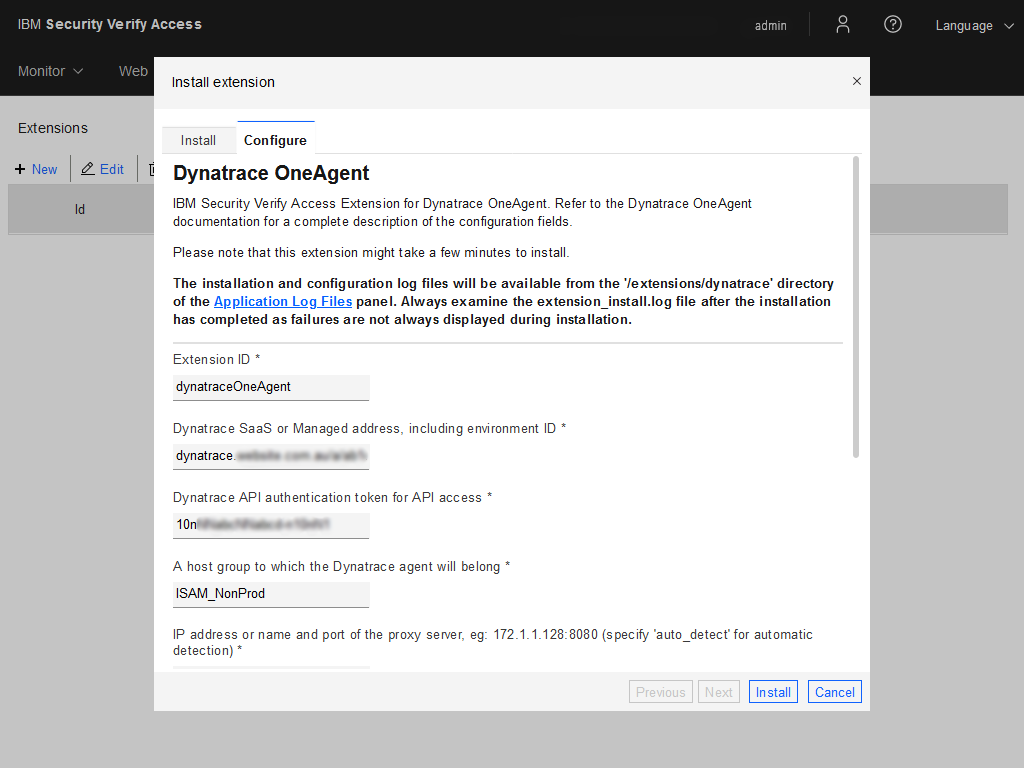
- Enter your Dynatrace specific details into the configuration panel.
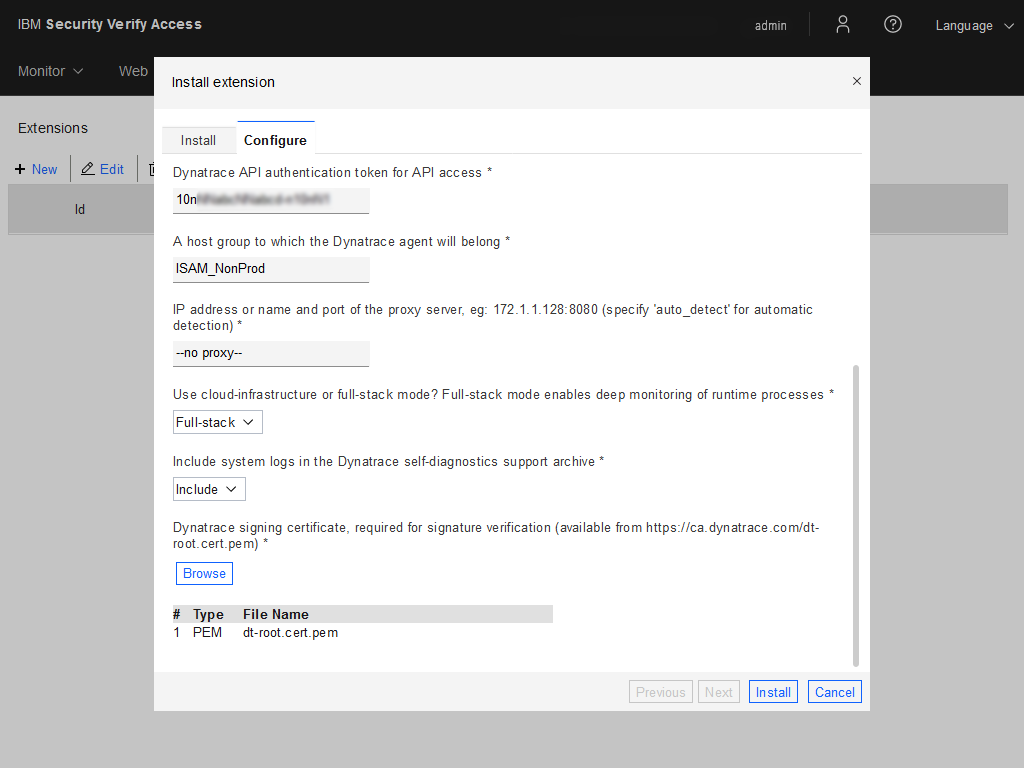
- Click Install and wait for Verify Access to complete the process.

- Restart the appliance for the changes to take affect.
- Open Dynatrace and enjoy!
Dynatrace Platform
After a quick search of your host in the search bar, you'll be able to monitor incoming traffic, appliance CPU and memory usage as well as the performance of REST services.

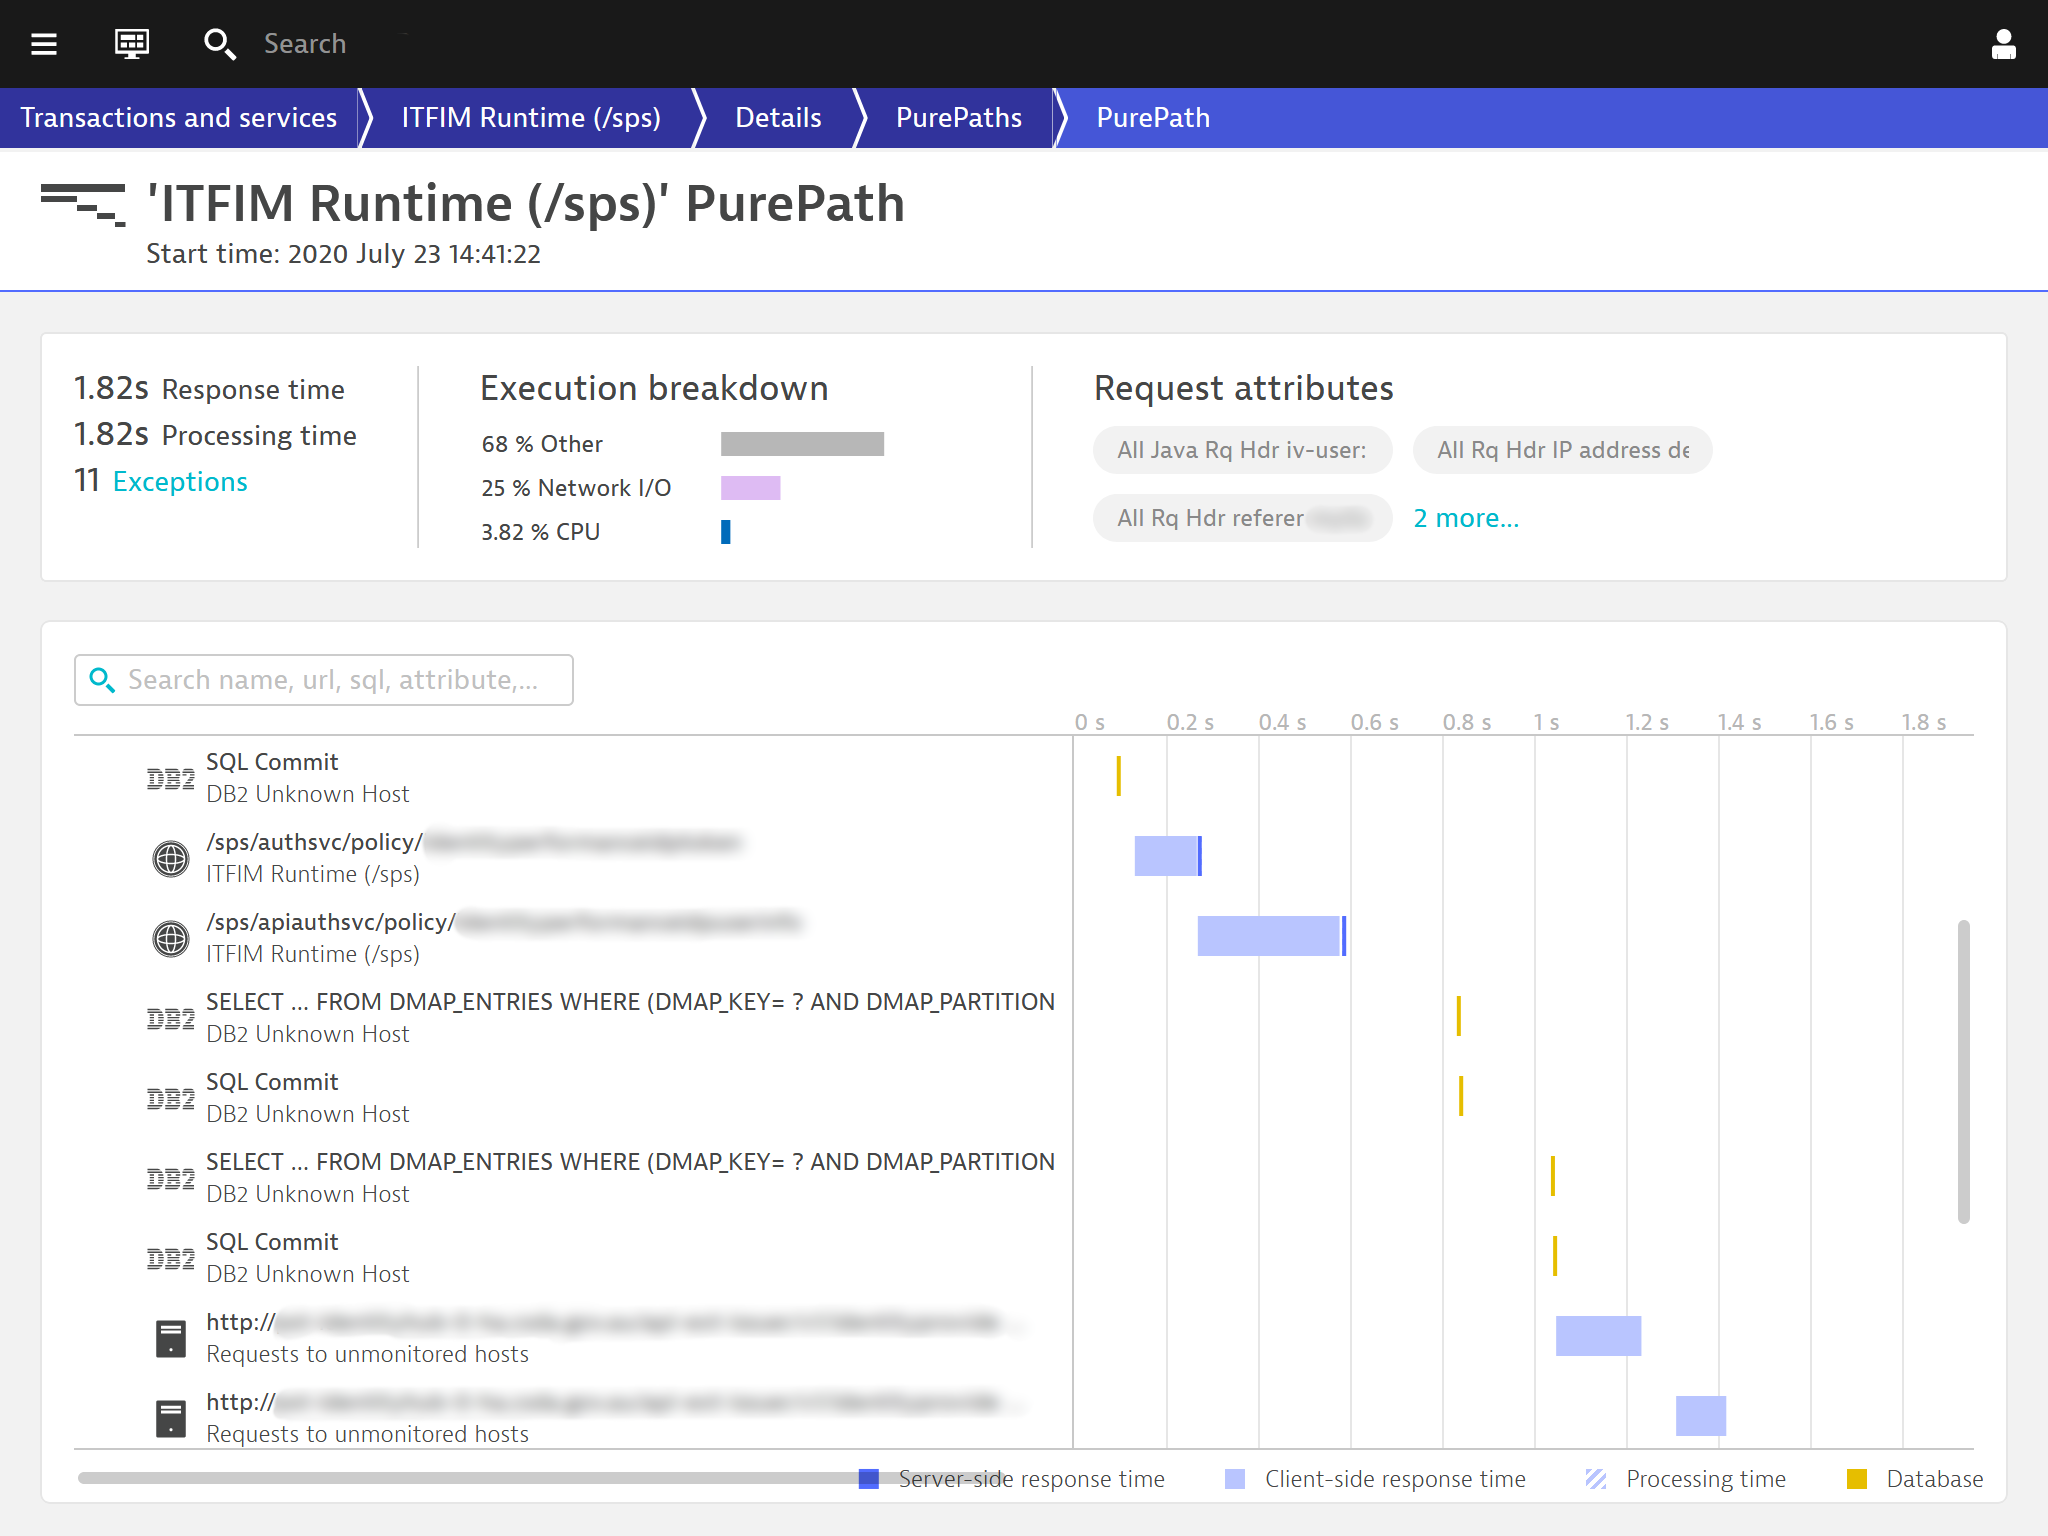
One of my favourite features of integrating Verify Access (ISAM) with Dynatrace is the PurePath diagram. It allows you to understand what's happening behind the scenes and identity points that can be improved in the transaction.
Additional Information/Links
Here are some useful links you can checkout for additional information.